Documentation ( Fullscreen - Version 4)
Setting Up the Files
This is the first step using this template
- Unzip the Item.zip
- Find the file blank.html
- Open the file then lets start to make our first page Lets go!
Background Styles
Let the header and footer part intact do not make any changes there!
- Set the background styles
- you can choose
<body class="static-background">,<body class="slider-background">,<body class="video-background"> - in video background there is need to be set:
please change the video file location and filename
											<body class="video-background">

											<video loop muted autoplay poster="img/img1.jpg" class="video-bg">

												<source src="video/video-clip.webm" type="video/webm">

												<source src="video/video-clip.mp4" type="video/mp4">

												<source src="video/video-clip.ogv" type="video/ogg">

</video> - You can use Solid background by adding class name in every section:
leave the body no class<body>
then add class in every section like this :
<section id="slider-banner" class="section blue-bg">
Available colors:
dark-bg, green-bg, blue-bg, orange-bg, red-bg, purple-bg, aqua-bg, brown-bg, dark-blue-bg, light-green-bg, dark-red-bg, teal-bg, dark-purple-bg
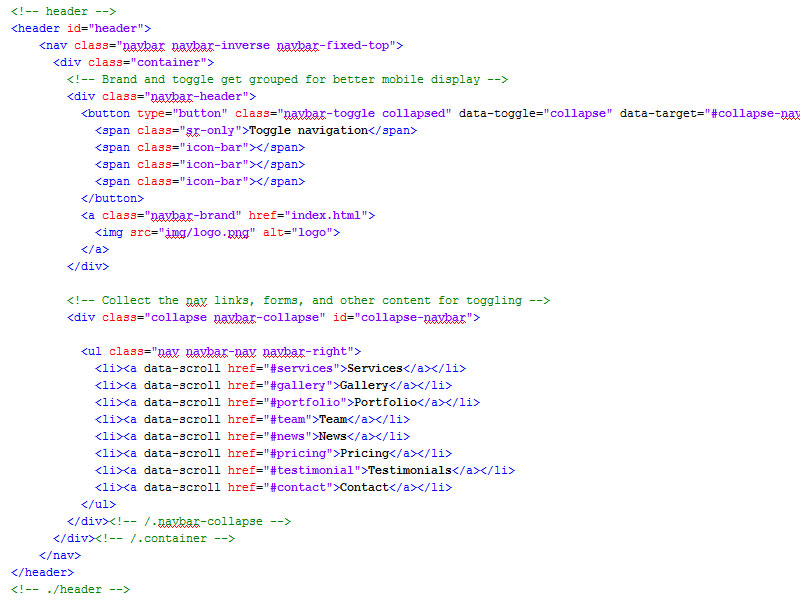
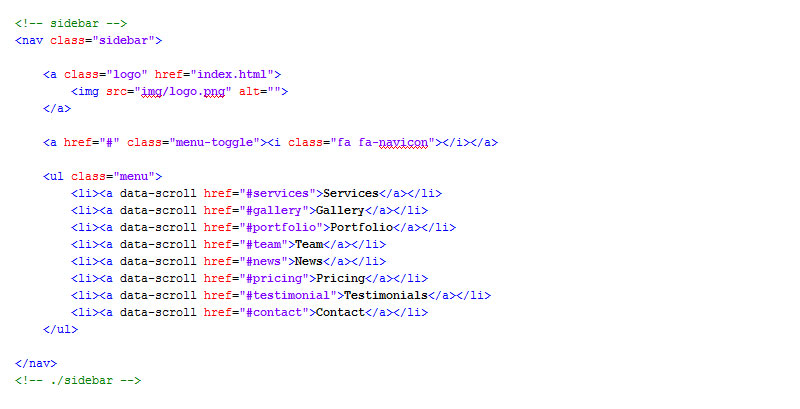
Navigation or Menu
You can Use Top Menu or Sidebar Menu Please check the code in the template and copy it there.
NOTE the data-scroll are the key for scrolling on each Section
Top Navigation :
Sidebar Navigation :
Section Setup
There are 7 Section Kits Available on this theme: BANNER, SERVICES, GALLERY, TEAM, BLOG/NEWS, TESTIMONIALS, PRICING TABLES
NOTE
- Lets setup the banner section
- Open the banner.html
NOTE you can open the file using editor to get the codes or just use the Get The Code in page itself. See below pics.
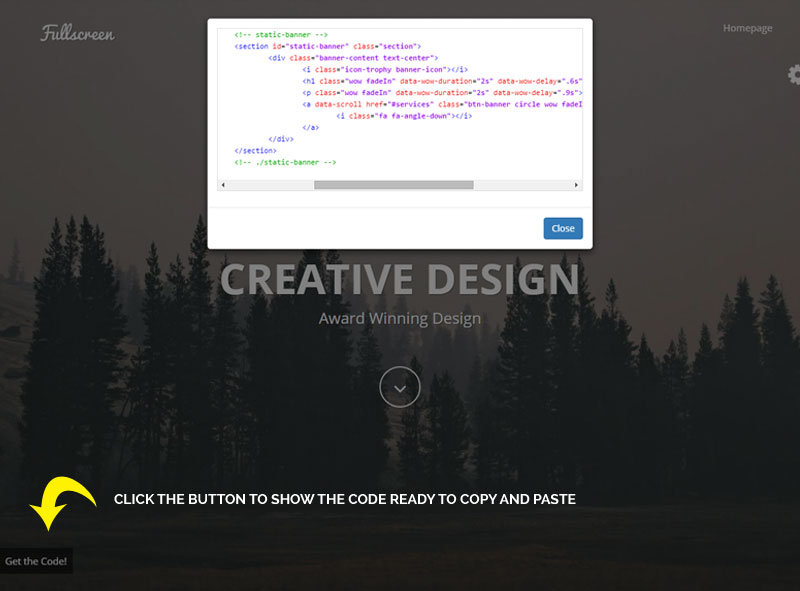
- These are SAME PROCESS in Every Section like SERVICES, GALLERY, TEAM, BLOG/NEWS, TESTIMONIALS, PRICING TABLES
- ENJOY THE EASE OF USE
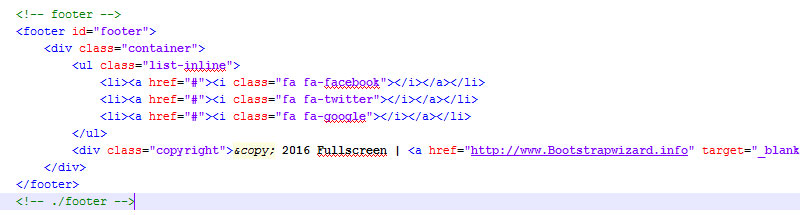
Footer Section
Just simple codes for footer. please get it in the template at any page
Plugins
Jquery, Icons, Images
Jquery
- Twitter Bootstrap http://getbootstrap.com/
- Jquery https://jquery.com/
- Backstretch http://srobbin.com/jquery-plugins/backstretch/
- Countdown http://hilios.github.io/jQuery.countdown/
- jqBootstrapValidation https://github.com/ReactiveRaven/jqBootstrapValidation
- magnific-popup http://dimsemenov.com/plugins/magnific-popup/
- owlcarousel http://owlgraphic.com/owlcarousel/
- code-prettify https://github.com/google/code-prettify
- smooth-scroll https://github.com/cferdinandi/smooth-scroll
- typed-js http://www.mattboldt.com/demos/typed-js/
- WOW http://mynameismatthieu.com/WOW/
Icons
- Font-Awesome http://fortawesome.github.io/Font-Awesome/
- simple-line-icons http://thesabbir.github.io/simple-line-icons/
Images
- stocksnap.io https://stocksnap.io/
NOTE All images are for DEMO purposes only not included in project files
THANK YOU FOR PUCHASING OUR TEMPLATES
For SUPPORT Please comment on items where you purchase the theme we are happy to help you